
How to Season a Cast Iron Fire Pit for UK Weather
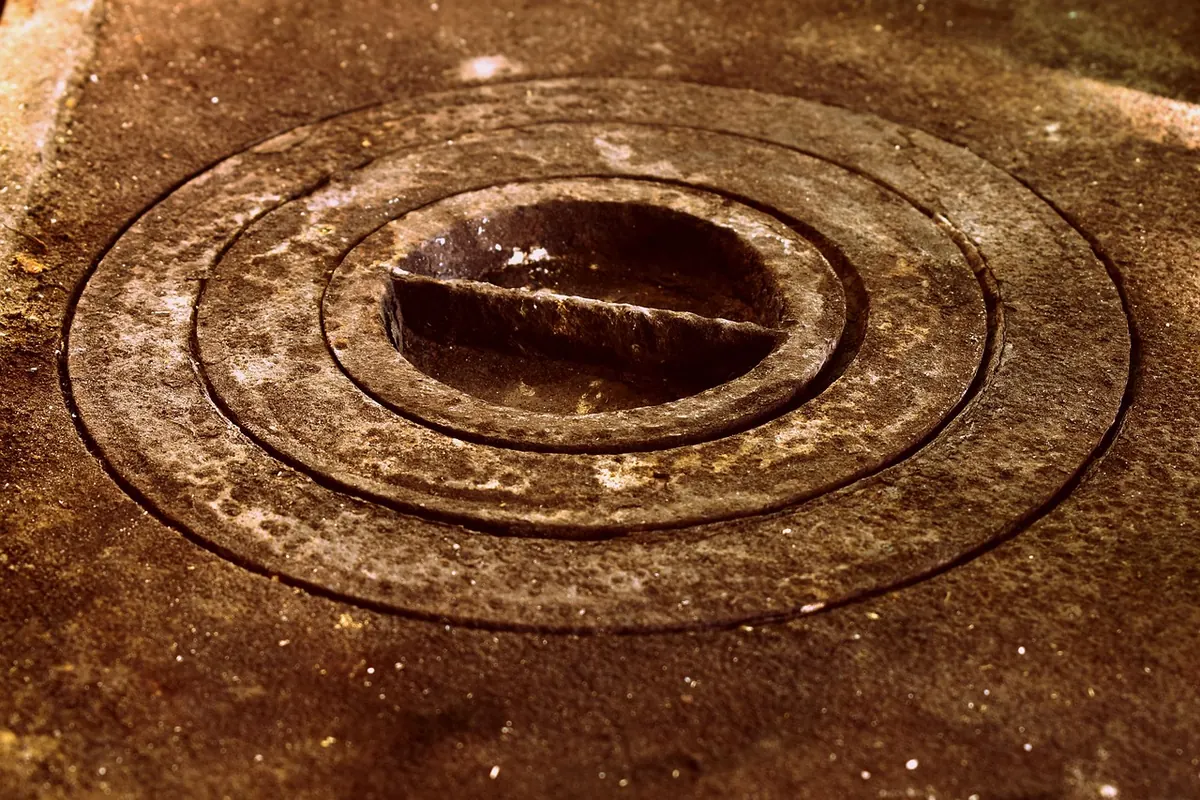
A cast iron fire pit is one of the few things you can buy for a garden that might outlast the house. It is also one of the few that a single careless winter can ruin. Leave one out through a wet October and a freezing January and you will find a bowl of orange flakes by spring, with the metal pitted and thinning underneath. Cast iron responds very well to attention, though. Twenty minutes of work, repeated twice a year, is usually the difference between a fire pit that lasts a decade and one that lasts two.
Why cast iron suffers more in a British garden
Cast iron is porous. The surface left by the casting process is not the smooth, sealed skin you get on steel — it is a network of tiny pits that hold moisture against the metal. In a dry climate that hardly matters. Here, with rain in most months, damp air overnight and repeated freeze-thaw cycles from November onwards, it matters a great deal.
Water collects in the low points of the bowl, sits in the ash, and works its way into those pits. When it freezes it expands, lifting flakes of iron away and exposing fresh metal underneath. If you garden near the coast, airborne salt speeds the whole process up.
Seasoning is the answer, but it is worth being clear about what seasoning a fire pit actually means. On a frying pan, seasoning gives you a non-stick surface. On a fire pit, it does almost nothing for cooking and everything for corrosion. And because the inside of the bowl reaches temperatures that burn off any oil you apply, your seasoning is really a protective layer on the outside, the underside and the base — the parts that never see flame.
What you need before you start
- A wire brush, plus a wire cup brush for a drill if the rust is heavy
- Wet and dry paper, around 80 to 120 grit
- Washing-up liquid, or white spirit for stubborn grease
- Rapeseed, flaxseed, grapeseed or plain vegetable oil
- Lots of old cloths and a pair of heat-resistant gloves
- A breathable cover, and somewhere dry to store the pit over winter
Avoid motor oil, and avoid anything intended for use on a surface you might cook on. A dedicated rust inhibitor is fine as a temporary measure, but it is not a seasoning and will need removing before you cook.
Step one: strip it back to bare metal
- Empty the ash out completely. Ash holds moisture like a sponge, and a damp bed of ash is the fastest way to rot the base of a bowl from the inside.
- Work over the rusty areas with the wire brush. Remove anything flaking, lifting or powdery. You do not need to chase every last black patch — sound, dark patina is good metal and worth keeping.
- Sand the pitted patches back to grey metal, then feather the edges so there is no lip for water to sit against.
- Degrease the whole thing with hot soapy water, rinse, and dry it thoroughly. Then warm the metal with a hair dryer or leave it in the sun for a while. Oil will not bond to a damp surface.
Resist the temptation to paint it. High-temperature paint on the base or legs can work, but anything near the fire bowl will blister and flake within a season.
Step two: season the metal properly
- Warm the fire pit gently first, so the oil spreads thinly instead of sitting in cold beads.
- Apply a very thin coat with a rag. Thin is the whole point. A thick coat turns sticky, patchy and uneven.
- Wipe off the excess as though you have made a mistake. What is left behind is plenty.
- Heat it. A small fire in the bowl, or a heat gun run slowly over the outside, will do it. You will see the metal smoke, then stop smoking. That is the oil polymerising into a hard, dark film.
- Let it cool on its own. Never cool hot cast iron with water — the thermal shock can crack it.
- Repeat two or three times, paying particular attention to the underside and the base plate.
Do the outside of the bowl and the base at the end of a fire, while the metal is still warm but no longer hot. The oil goes on thinner and bonds better than it ever will on a cold winter morning.
The parts seasoning never reaches
A fire pit is not just a bowl. Legs, base plates, ash pans, bolts and handles all rust quietly while you focus on the bit you can see. Give those a wipe with an oily rag after every few fires — it takes seconds and it is where most pits fail first.
If you cook over your fire pit, treat the grill and any cooking surface like cookware: food-safe oil only, and re-season after every wash. Do not cook over treated or painted scrap wood, and make sure the pit is standing on a hard, level surface well away from fences, sheds and anything with an overhang.
Rain, covers and winter storage
Water is the enemy, so drainage and placement matter as much as oil. Stand the pit on paving, gravel or a hard-standing rather than grass, which keeps the base permanently damp. If there is a drainage hole, keep it clear of ash and debris.
On covers, be careful. A plastic tarpaulin will trap condensation against the metal and can leave a fire pit rustier than leaving it uncovered. Choose a breathable cover, and only fit it once the pit is completely cold — a warm pit under a cover sweats. If you would rather not cover it at all, turn it upside down and protect the base instead, so rainwater cannot pool in the bowl.
Over winter, a dry shed or garage is the ideal home. If the pit has to stay outside, give it a heavier coat of oil in late autumn and check it after every cold snap.
A routine that actually works
After each fire, once the pit has cooled, tip the ash out and wipe a thin film of oil over the outside and base. Once a month through autumn and winter, look for the first orange bloom — if it is surface rust only, rub it back and re-oil before it takes hold. Do a full strip, clean and re-season in spring, and a heavier protective coat in autumn.
That is genuinely all it takes. Cast iron is forgiving, and a fire pit that is oiled, emptied and kept off wet ground will develop a deep, even, near-black finish that improves with every season of use.
Photo: grom900 / Pixabay