
Fire Pit Accessories You Actually Need: A No-Nonsense Checklist
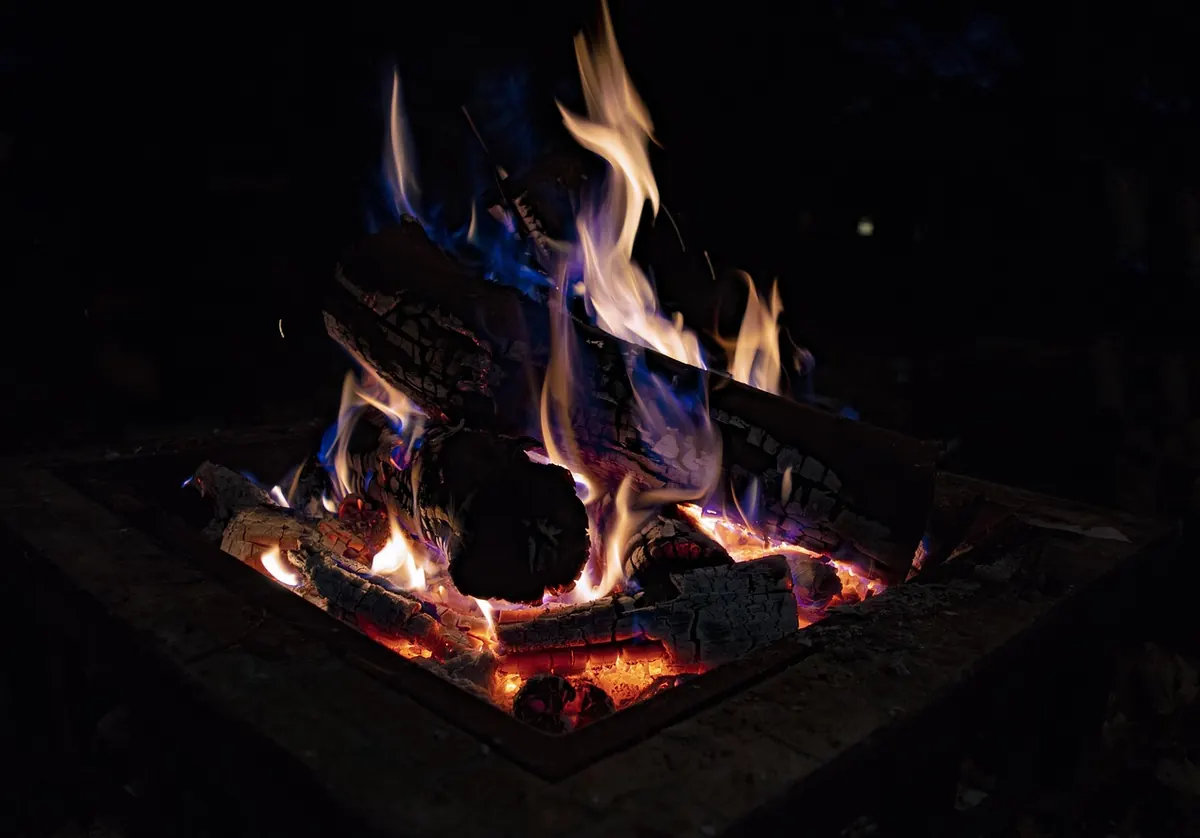
A fire pit on its own is a fairly blunt instrument: a bowl, some legs and the hope that damp logs will eventually catch. The accessories are what turn it into something you use on a Tuesday evening rather than twice a summer. They keep the bowl from rusting, stop embers landing on the decking, and mean you can move a burning log without performing surgery with a pair of barbecue tongs.
The trouble is that the shelves are stuffed with things you will use once and then store behind the mower. So here is a sensible split: what to buy before your first burn, what to add once you know how you actually use the thing, and what to leave on the shelf.
Start With a Cover, Even If It Feels Boring
A cover is the least exciting purchase you will make and probably the one that saves you the most money. Rain sitting in a steel or cast iron bowl is what kills fire pits: water pools, the seams stay wet, and by spring you are scrubbing rust instead of lighting fires.
Look for a cover made to fit your model rather than a generic size, with a drawstring or toggle at the hem and a vent to let trapped moisture escape. Fabric that breathes slightly is better than a fully sealed plastic sheet, which traps condensation underneath and can be just as bad as leaving the pit bare. Two habits matter more than the material:
- Let the pit cool completely before covering it. A warm bowl under a cold cover creates condensation, and condensation is rust's best friend.
- Tip out ash and wipe the inside dry first. Ash holds moisture against the metal.
If your pit lives in a garage or shed over winter, you can skip the cover entirely. If it sits outside year-round on a patio, buy one the same week you buy the pit.
Spark Screens: Buy One Before You Need One
A spark screen is a mesh lid, a cylindrical cage or a set of folding panels that sit between the fire and everything else. The first time a gust sends a lit ember towards a fence, a cushion or a child, you will understand why they exist.
Choose a mesh fine enough to catch embers but open enough that the fire still draws properly — a screen that smothers the airflow will leave you with smoke and half-burnt wood. A hinged lid is more convenient than a lift-off one because you can add logs without finding somewhere safe to put hot metal down. If your fire pit came with a screen, use it; if it didn't, this is the first extra worth buying.
A screen is not a licence to move the pit closer to the house. Keep the usual clearances from walls, fences, sheds and overhanging branches, and if you live in a smoke control area, check with your local council about what you are allowed to burn.
Pokers, Tongs and Log Handling
The single most useful tool is a long-handled poker with a decent hook on the end. Length is the point: something in the region of 60cm to 80cm keeps your hand well away from the heat while you rearrange logs and lift a settled piece to let air underneath.
Alongside it, a pair of long log tongs or a grabber saves you from tipping fuel off the edge of the bowl, and a small metal ash rake makes cleaning out far quicker. Buy one-piece steel where you can. Screw-together handles loosen over time and wobble at exactly the wrong moment.
For ash, a metal bucket with a lid is worth the modest cost. Cold ash can go in a plastic dustpan; anything that might still be warm cannot. Empty ash into a metal container and leave it outside, away from anything combustible, rather than straight into a bin bag.
Gloves: Get the Right Type for the Job
Heat-resistant gloves are where most people buy the wrong thing twice. Silicone-coated oven gloves are excellent for lifting a hot grill grate or a cast iron handle, but they offer almost no protection if you grip a burning log. For that you want suede or split leather gauntlets with long cuffs that cover the wrist and forearm.
Keep them dry. Damp leather conducts heat surprisingly well, and a glove that has sat out in the rain all week is worse than useless. Treat gloves as a barrier rather than a guarantee: assume metal is hot until you have checked it, and never rely on them for prolonged contact with flames or coals.
The Essentials Checklist
If you are starting from nothing, buy in this order and stop when you run out of budget:
- A fitted cover, if the pit lives outdoors.
- A spark screen or mesh lid.
- One long poker and one pair of tongs.
- Leather gauntlets.
- A metal ash bucket with a lid.
- Dry kindling, natural firelighters and properly seasoned wood.
That list covers safety, cleaning and control. Everything else is a preference.
Genuinely Optional Extras
Once the basics are sorted, add according to how you actually burn. A few that earn their place for the right owner:
- A grill grate or cooking tripod — good fun if you will genuinely cook over it. Check the grate fits your bowl diameter before ordering.
- Bellows — useful for reviving a lazy fire without leaning in and blowing ash everywhere.
- A wind guard or screen panels — helpful on an exposed patio, though a spark screen often does the same job.
- A weatherproof log store — dry wood burns cleaner and lights faster. This matters more than any gadget.
- Fire pit cooking gloves, skewers and a dutch oven — buy one at a time and see what you reach for.
Skip the novelty items: colour-changing sachets, decorative stones that crumble, and any cleaning product that promises to restore a rusted bowl. Wire wool, a stiff brush and a little oil will do more.
What to Buy First
Sort the cover, the screen, a poker and a pair of leather gauntlets, and your fire pit is safe and usable. Add an ash bucket next, then a log store so your fuel is dry. Everything beyond that is optional and can be bought once you know whether you are a weekend cook or someone who just wants a warm hour with a glass of something.
Finally, keep a bucket of water or sand within reach, and never tip water into a hot cast iron or ceramic bowl to cool it quickly — the sudden change in temperature can crack it. Let it burn down, then let it cool on its own.
Photo: royharryman / Pixabay